Introduction:
Welcome to the world of sustainable gardening with Ecofynd's DIY Plant Grow Kit! Whether you're a seasoned gardener or a novice enthusiast, this blog post is your comprehensive guide to maximizing the potential of your Ecofynd grow kit. With Ecofynd's commitment to eco-friendly practices and high-quality products, you can embark on your gardening journey with confidence, knowing you're contributing to a greener, healthier planet.

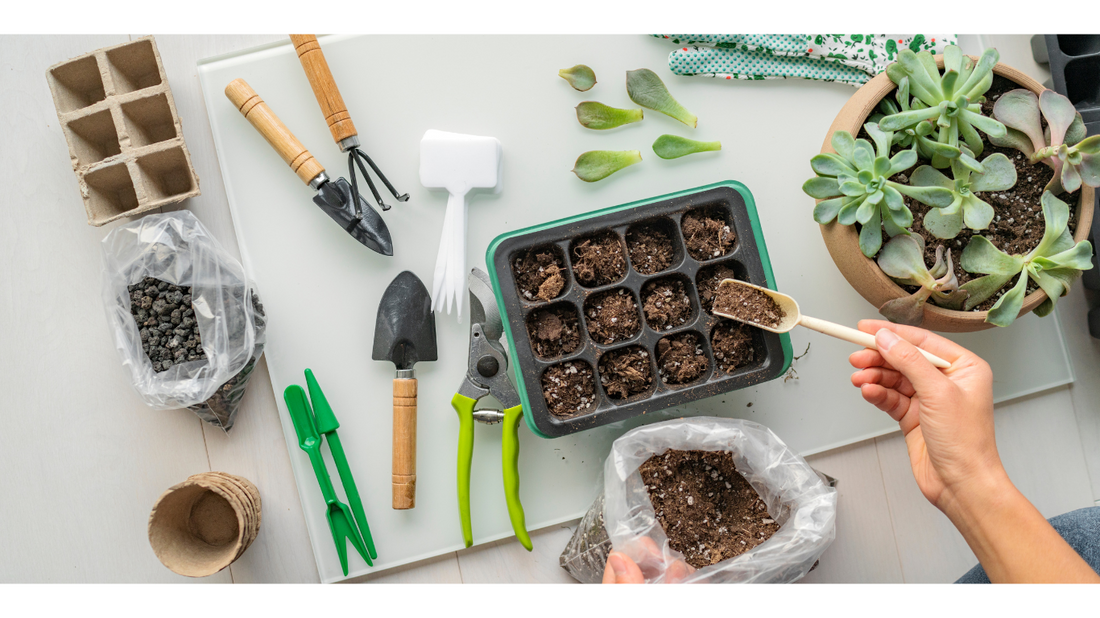
Step 1: Unboxing Your Ecofynd DIY Plant Grow Kit
The excitement begins as you unbox your Ecofynd DIY Plant Grow Kit. Inside, you'll find everything you need to start your gardening adventure, including coir pots, vermi-compost, coir disc, a variety of plant seeds, watering spray, plant label and instruction manual. Take a moment to familiarize yourself with the contents of the kit and read through the instructions manual provided by Ecofynd.
image
Step 2: Preparing Your Planting Space
Before getting your hands dirty, choose a suitable location for your DIY plant grow kit. Ideally, this space should receive ample sunlight or be supplemented with grow lights to ensure optimal plant growth. Set up your seedling trays on a stable surface and gather any additional supplies you may need, such as water and gardening tools.

- Place the coir disc in a large bowl or tray.
- Add warm water gradually and watch as the pellets expand. Stir occasionally to ensure even absorption.
- Once fully expanded, fluff the soil with your hands and mix with vermi-compost.
- Fill each planting pot with the expanded soil, leaving about half an inch from the top.
- Gently press down the soil to eliminate air pockets.

Step 3: Plant the Seeds
- Carefully sow the seeds according to the recommended depth mentioned on the seed packets.
- Cover the seeds with a thin layer of soil and lightly pat down.
- Use the provided watering spray to moisten the soil. Avoid over-watering; the soil should be consistently moist but not waterlogged.

Step 4: Nurturing Your Seedlings
As your seeds begin to germinate and grow into seedlings, it's important to provide them with the care and attention they need to thrive. Monitor the moisture levels of the soil regularly and water your seedlings as needed to keep the soil evenly moist. Place your seedling trays in a sunny location or under grow lights, adjusting the positioning as necessary to ensure adequate light exposure.

Step 5: Transplanting and Harvesting
Once your seedlings have matured and developed their first set of true leaves, they are ready to be transplanted into larger containers or your outdoor garden. you can directly plant them with bio-degradable coir pot in well-draining soil and continue to provide them with the care they need to thrive.

Conclusion:
With Ecofynd's DIY Plant Grow Kit, gardening has never been easier or more sustainable. From unboxing your kit to harvesting your homegrown produce, every step of the process is a rewarding experience that brings you closer to nature and the food you eat. So roll up your sleeves, dig in the dirt, and let your green thumb flourish with Ecofynd. Happy gardening!
One Pot, One Plant, One Planet.