
Block printing has been around for centuries and has been used in many different cultures. It is a simple way to create beautiful prints with your own two hands. India, specifically the region of Rajasthan, was filled with multiple tribes who were known for the work they did. One of those groups was the block printers. They used to create printed clothing for the various tribes in the region.
WHAT BLOCK PRINTING REALLY IS?
Block printing is one of the earliest forms of printing. Block printing is a technique of printing text and images that has been used for centuries. Block prints are created by carving an image or design into a block of wood or metal, then inking the surface with the desired colors and pressing paper to the inked block to transfer the design.

TOOLS REQUIRED FOR BLOCK PRINTING:
There are many tools and materials needed to make your own block printing art. The list below includes the materials you will need for this project:
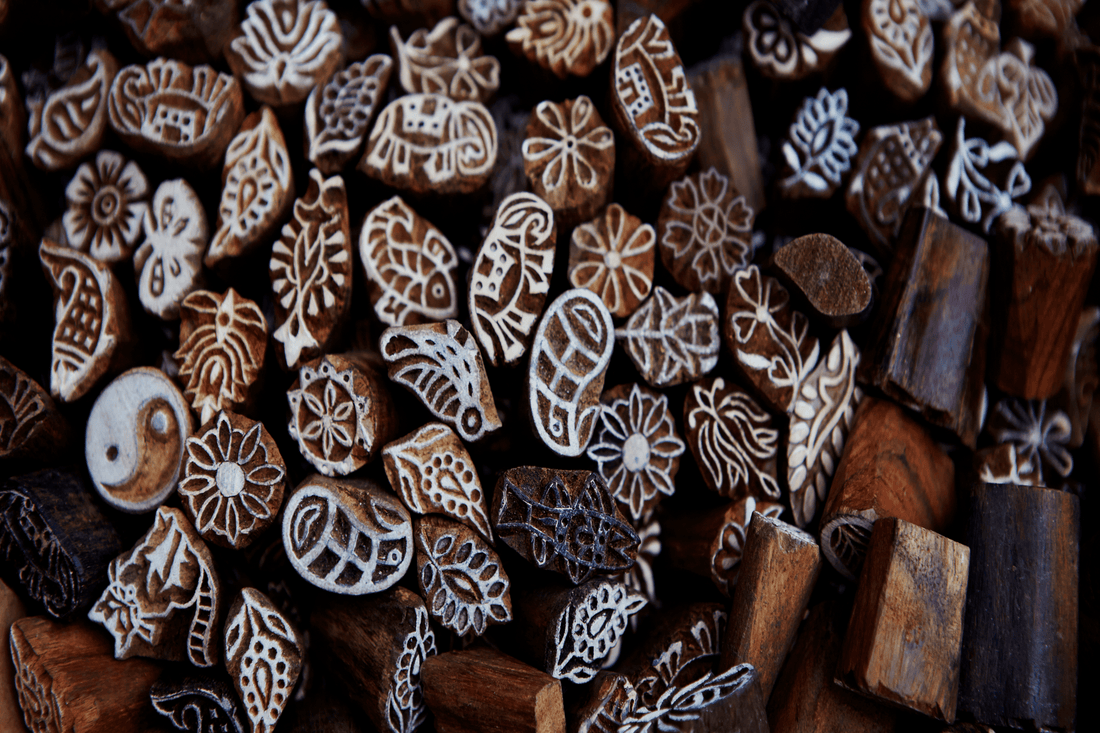
-Wooden Block
-Ink
-Paper/ fabric
-Pens/markers
-A ruler
PROCESS OF BLOCK PRINTING ART:
Hand block printing is a process in which ink is applied to a surface by hand. It can be done on paper, wood, or other surfaces. The type of printing depends on the type of material you're using, and how much pressure you apply to the surface. This process is often difficult, but it allows for the creation of intricate designs that are impossible to achieve with other printing methods.
1. Wooden Block Stamps for designing:

Roll the ink onto the block, making sure there is a thin but even layer on the whole design.

3. Transferring design on Fabric or Paper:
Now, take the block and transfer the design by pressing it on fabric or paper. The most important part is applying the pressure evenly since the color will be stronger in some areas of the print than others if uneven pressure is applied. Also, use ruler to make sure the design is transferred correctly. This is also a step that takes some practice and perfecting.

4. Washing and Drying:
The finished product is then washed off and dried, making it ready to use or hang on your wall.

Block printing is a great beginner’s printmaking method that anyone can learn how to do. It’s a simple but effective way to bring the joys of printmaking into your life.